Growing pineapples in 4″ main drain pipe

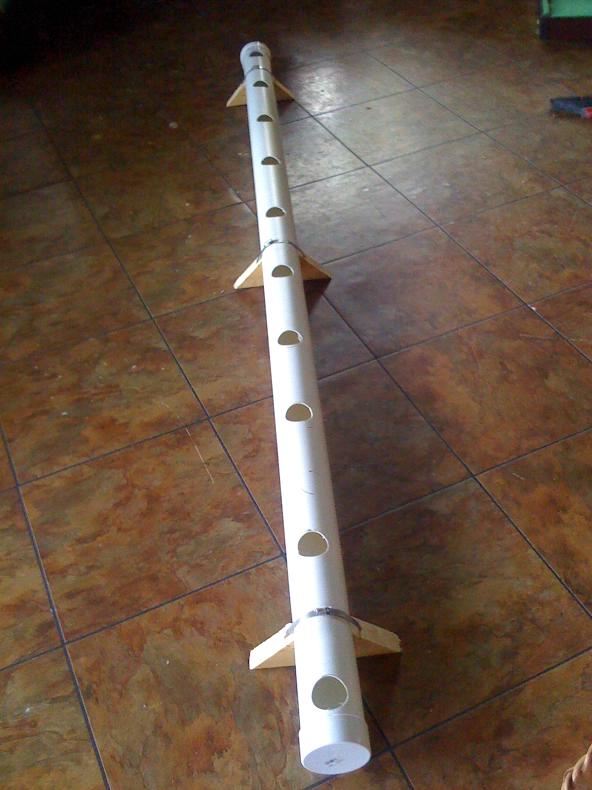
For a while I’ve been watching my Dad start pineapple tops in Tupperware containers.  I was surprised that the plants didn’t die over time because they were basically just in water and some miracle grow.  I wondered if the pineapples would fruit in these containers and wondered if I could just stick a bunch of pineapple tops in a half-filled-with-water main drain pipe.   I decided to try it and made this:

Maindrain with holes and feet

The stands were made with 2 wedges. I fed each hoseclamp around the pipe, through the holes in the wedges, and tightened.

I realized I could use the pipe to distribute water to my 2 liter garden. The idea was to pump rainwater into the pipe and let it fill up halfway where some tiny holes are drilled and let the water overflow into each 2 liter column. The watering method works well and I still water this way a year later.

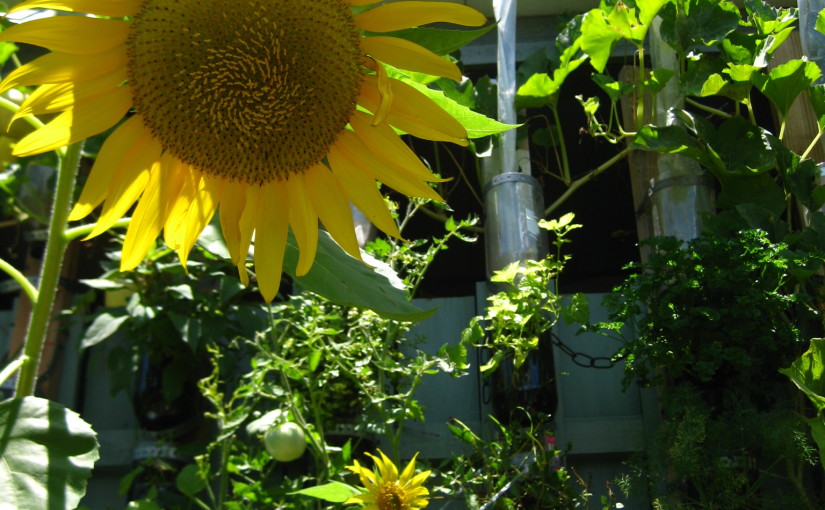
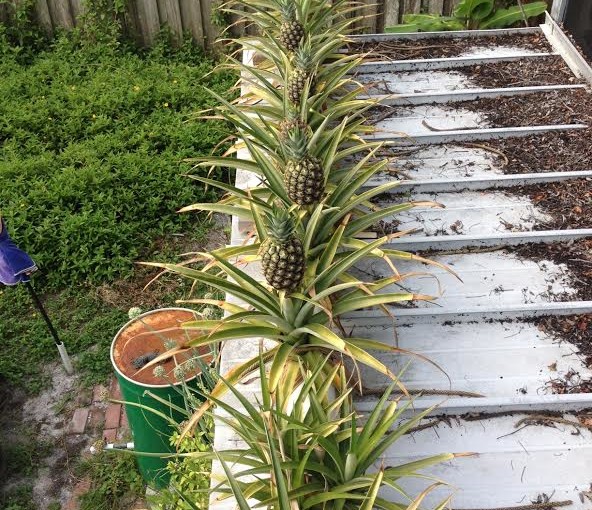
Over time and research I decided the water would become anaerobic and the pineapples would eventually die due to stagnation.  But I left everything as is because it functions to water the rest of my garden. I read from multiple sources that it would take up to 2 years for pineapples to start fruiting, but to my surprise 4 plants had set fruit the following spring.  Here’s what it looks like now in May:
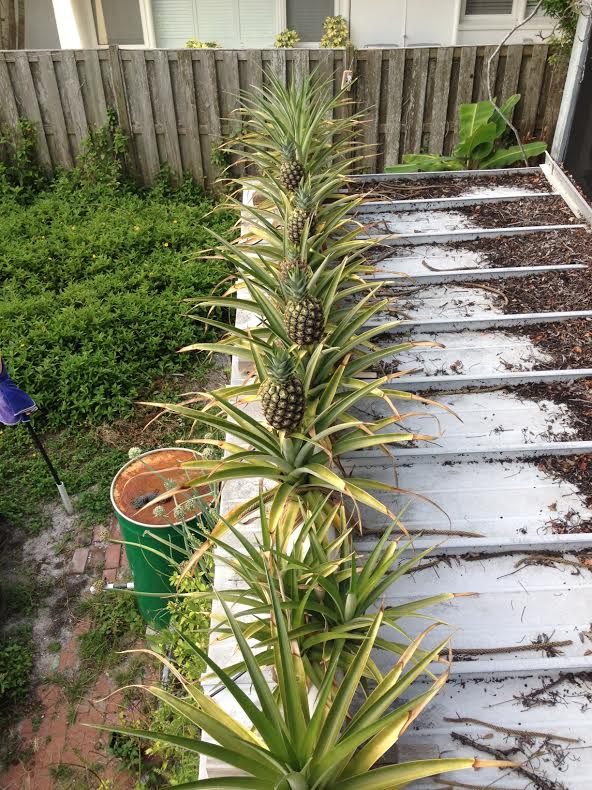
Fruiting pineapples a year later


Early on I was pumping up either miracle grow or compost tea, but I got lazy and every since I’ve only been pumping up rainwater.  I don’t expect the pineapples to taste very good because they are pretty deprived, but I guess I won’t know until I try them.  We’ll see how big they get come fall.

Since this design I found using 4×4 PVC fence post is a curious alternative to main drain sewer pipe because you don’t have to design feet for stability. I realize there are better, more suitable materials for growing plants but PVC pipe is cheap and people use it.

One day I’ll try aquaponics and likely have pineapples on the roof running the the entire perimeter of my house.  I’m sure they would grow very well :)


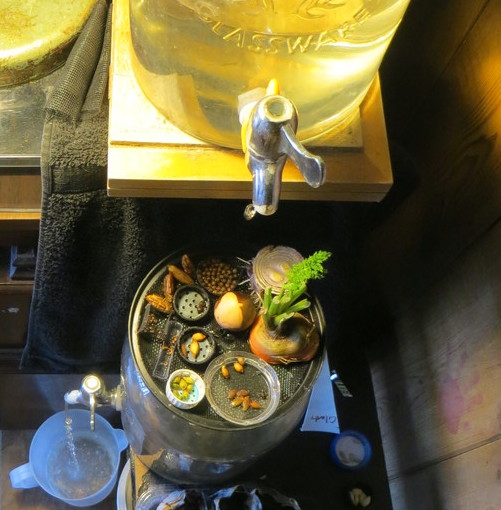
Mini Bell Siphon Seed Sprouter

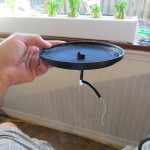
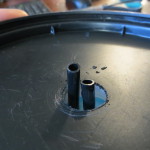
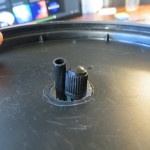
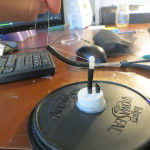
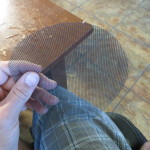
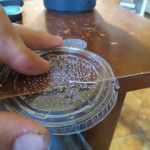
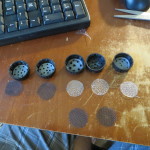
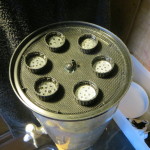
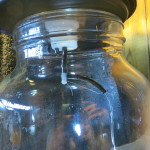
This is a mini flood and drain setup made from stuff around my house. See a video of it in action and/or make your own, referencing the photos below:

I made it because I didn’t like sprouting seeds in a paper towel – mainly because I had know idea when the seed actually sprouted, but I also encountered the following issues:

  • I’d forget to add water to keep the towel moist. And if I remembered, I would add water because I didn’t want to forget (making them too wet :)
  • The seeds would stick and/or roots would grow throughout the paper making them hard to separate.
  • Requires paper which I’m trying to avoid using if I can.

With this seed sprouter, I just watch the progress of the seedlings and when they sprout, I nab them! Sometimes my little girl wants to plant seeds and I just say “drop it in the seed sprouter!”.

Maintenance:

When the water is low (every 2 or 3 days), I recycle the water from the bottom catch to the top. I refresh the water every few cycles or so and give couple good squirts of hydrogen peroxide. Hydrogen peroxide is the key to maintenance free (or relatively so).

What else can I say? It’s great!

UPDATE: 2018

I learned that some seeds won’t sprout (not sure why). Some do some don’t. Also when trying re-growing onions, make sure water doesn’t get on the top of the onion or it will rot and don’t keep the onion in the sprouter for too long; it seems they might inhibit the growth of other seedlings.  I’m moving to an aquaponics/hydroton ebb and flow setup for seed sprouting.

Water Powered Timer

Pond

Garbage Day Garden

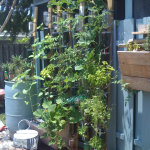
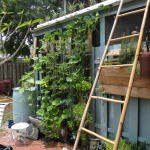
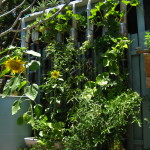
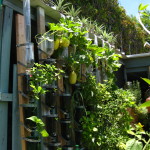
I posted an article on constructing a garden from 2 litter bottles.  I like 2 liter bottles for their uniform look, and thought they would work well to make a kind of a modular garden which is easy to water. In reality, there are a lot of caveats.

So you can read about the basic construction here:

http://www.moderndaydads.com/garbage-day-garden/

Also, you don’t have to buy pipe strap.  You can cut straps from other 2 litter bottles, which is how I do it now.

Here are some of the problems I ran into using 2 litters as pots in this tower fashion.

Drainage and PWT( perched water table).  It’s was easy to overwater my plants because the soil on top felt dry long before the soil on the bottom dries.  Poking holes all around the container helps, adding a wick helps, mixing pine bark into soil helps, and having awareness of root depth and the plant type helps. Also it helps to buy a moisture meter :) – They are cheap.

 As a software architect it was tempting to try to automate watering.  By design you can water all plants simultaneously, but that doesn’t mean all plants want water at the same time.  To close the gap, it helps to group plants of the same type and size in one column.  It also helps to sort the plants so thirstier (or well drained) plants are on the bottom. 

See the following link for more information about PWT:
http://davesgarden.com/community/forums/t/527353/#b

Plant Types – don’t expect grow lots of tomatoes, or peppers, it can be done, but they like more room.  Here’s some plants that I’ve had success with:

  • cilantro (I grow a lot this)
  • scallions (I grow lots)
  • basil
  • parsley
  • oregano
  • ground cherries,
  • lettuce,
  • lemon balm,
  • blue porter weed,
  • thyme
  • pineapple sage (needs lot of water)

Algae – you might read that algea grows in clear containers and competes with the plant’s growth. If your worried about this, you can leave the labels on or paint the outside of the bottles. I’m happy regardless of the algae, but it’s worth noting.

…More to come…